Prerequisites
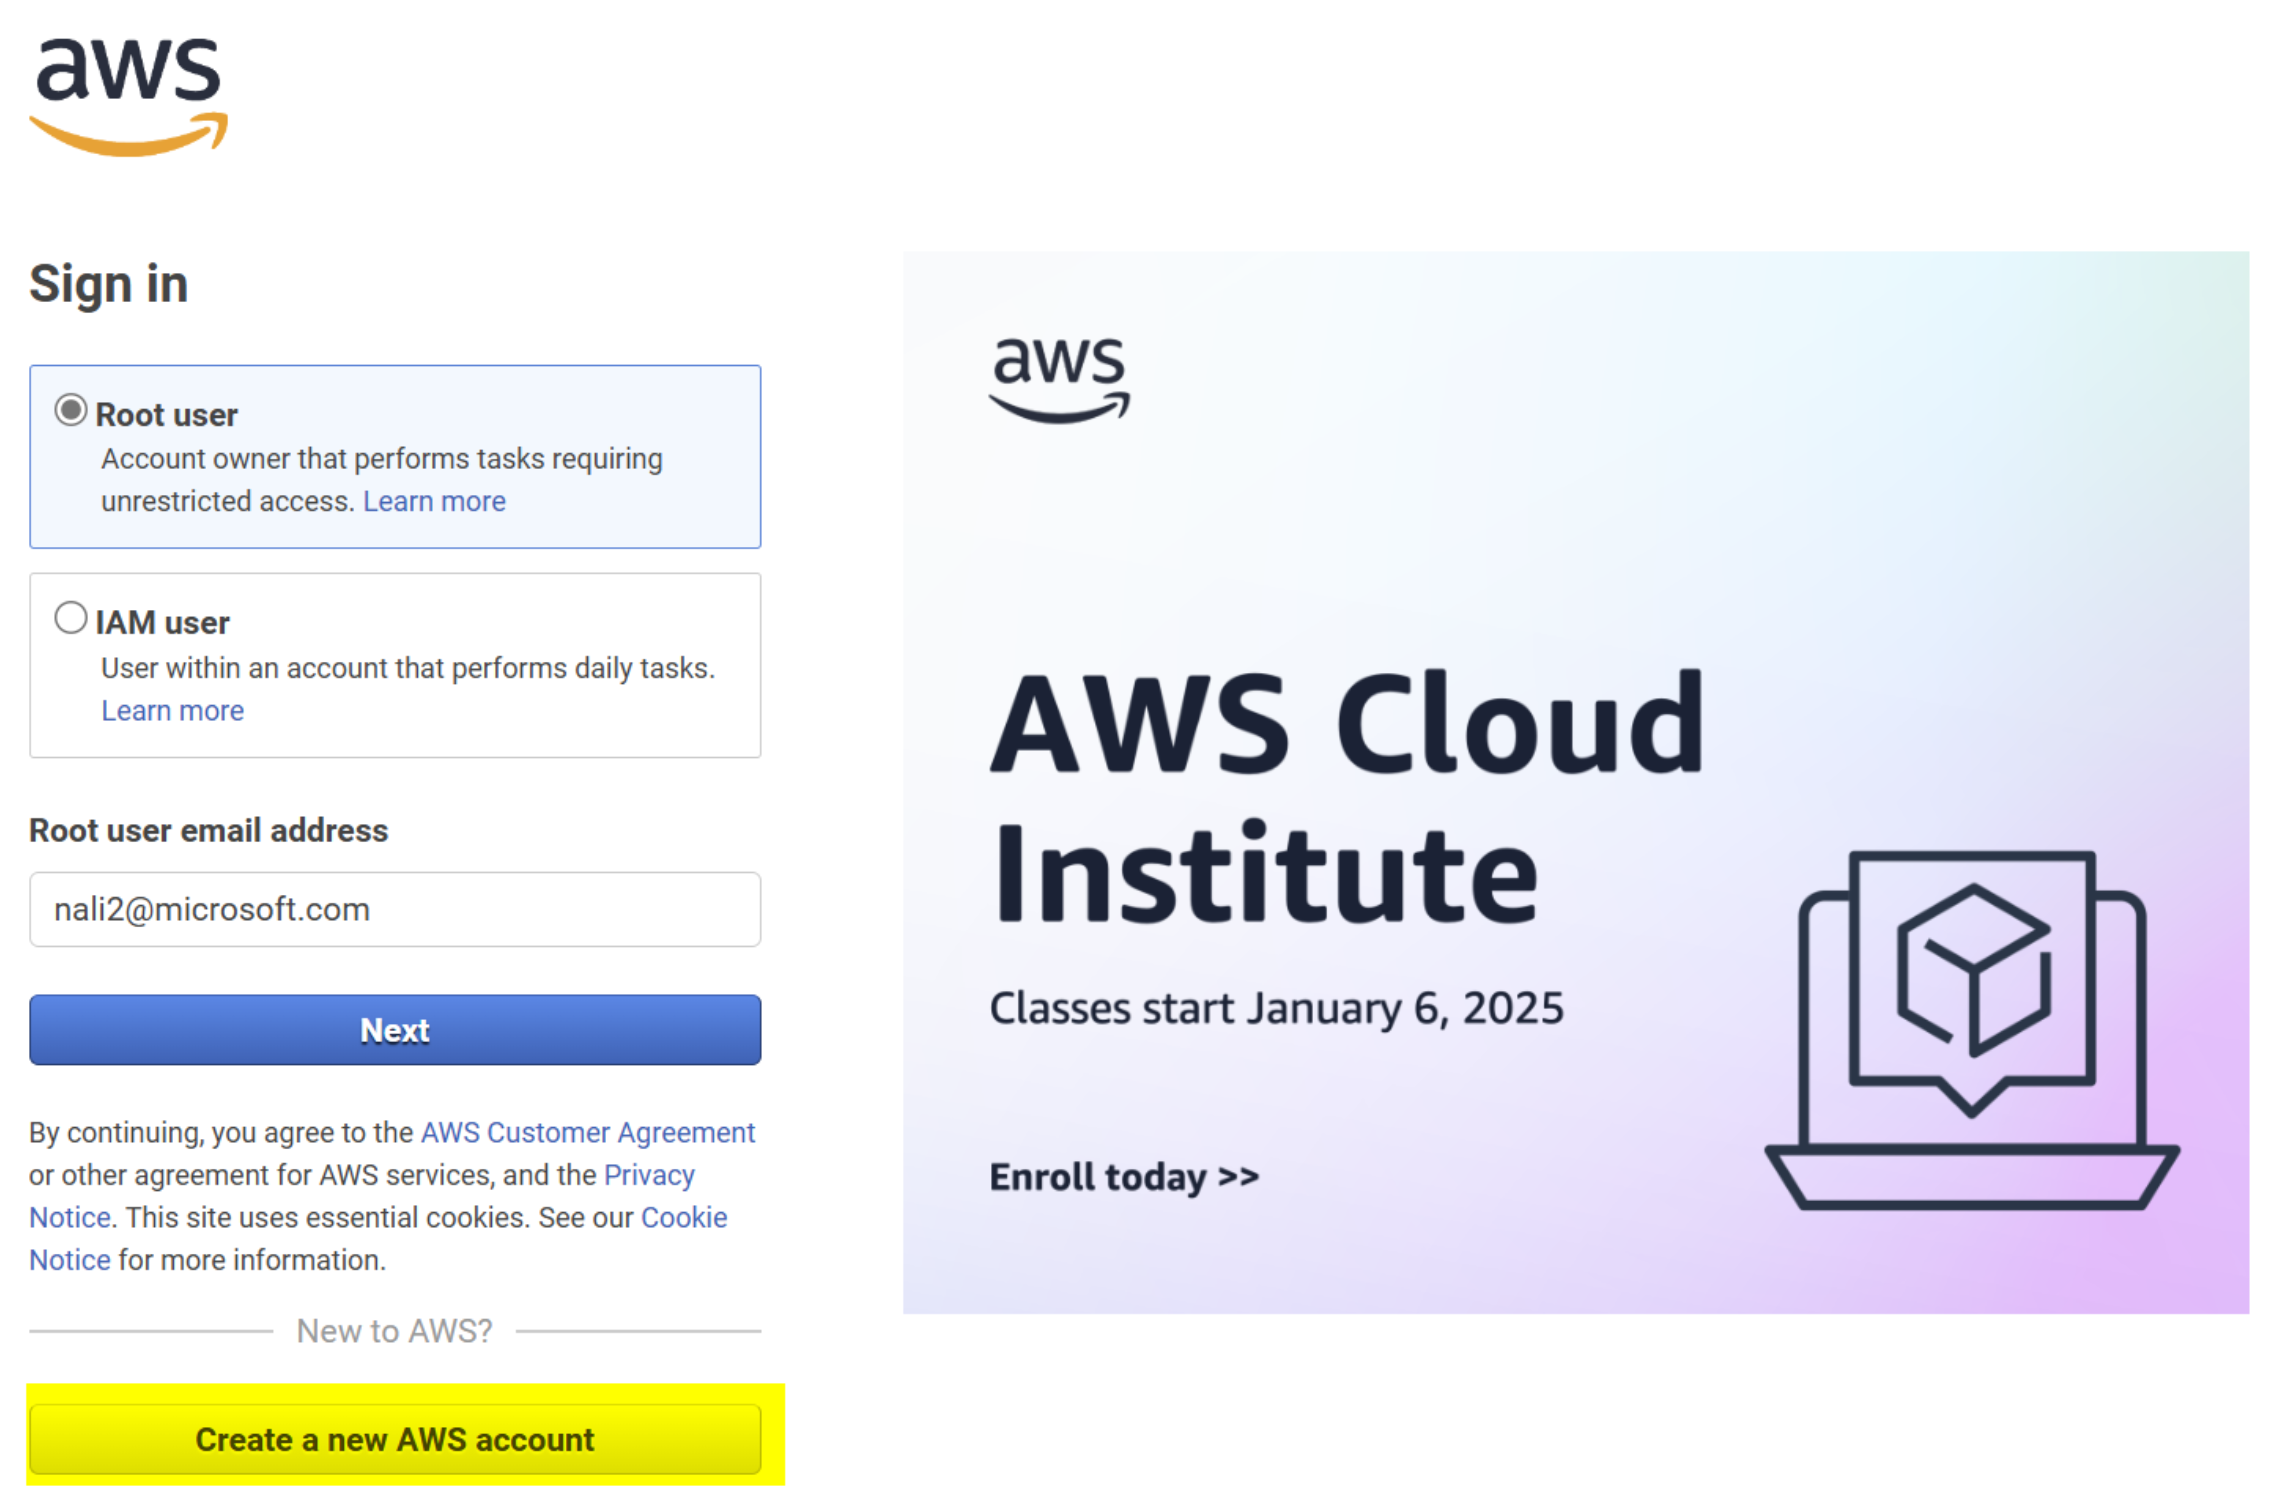
Create a free AWS account
- login web console https://aws.amazon.com/console/ , click Signin
- follow the AWS doc
to create a free AWS account
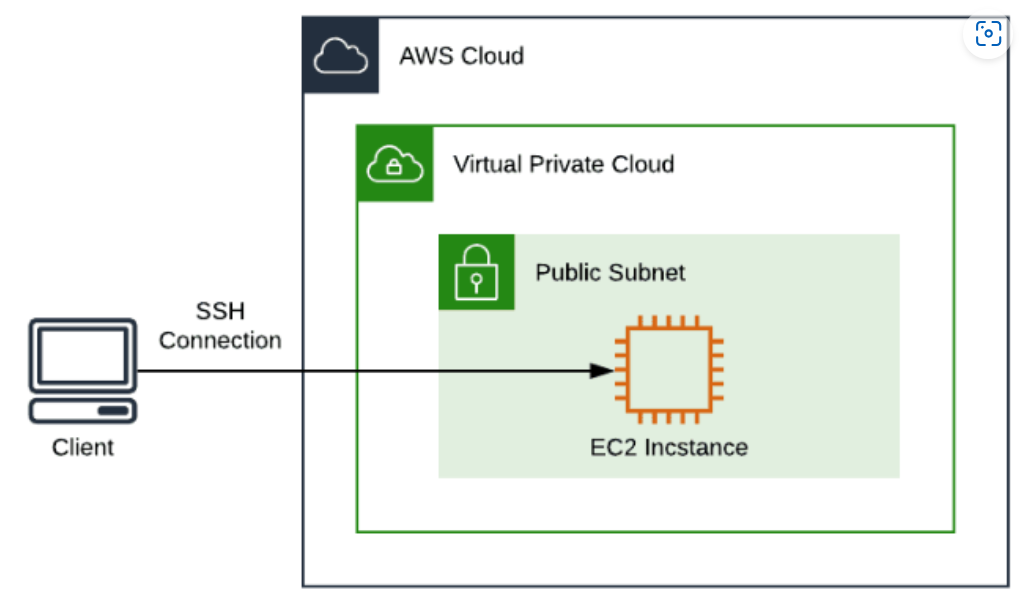
Create AWS EC2 instance
login web console https://aws.amazon.com/console/ , select the support region , then click EC2 to create instance

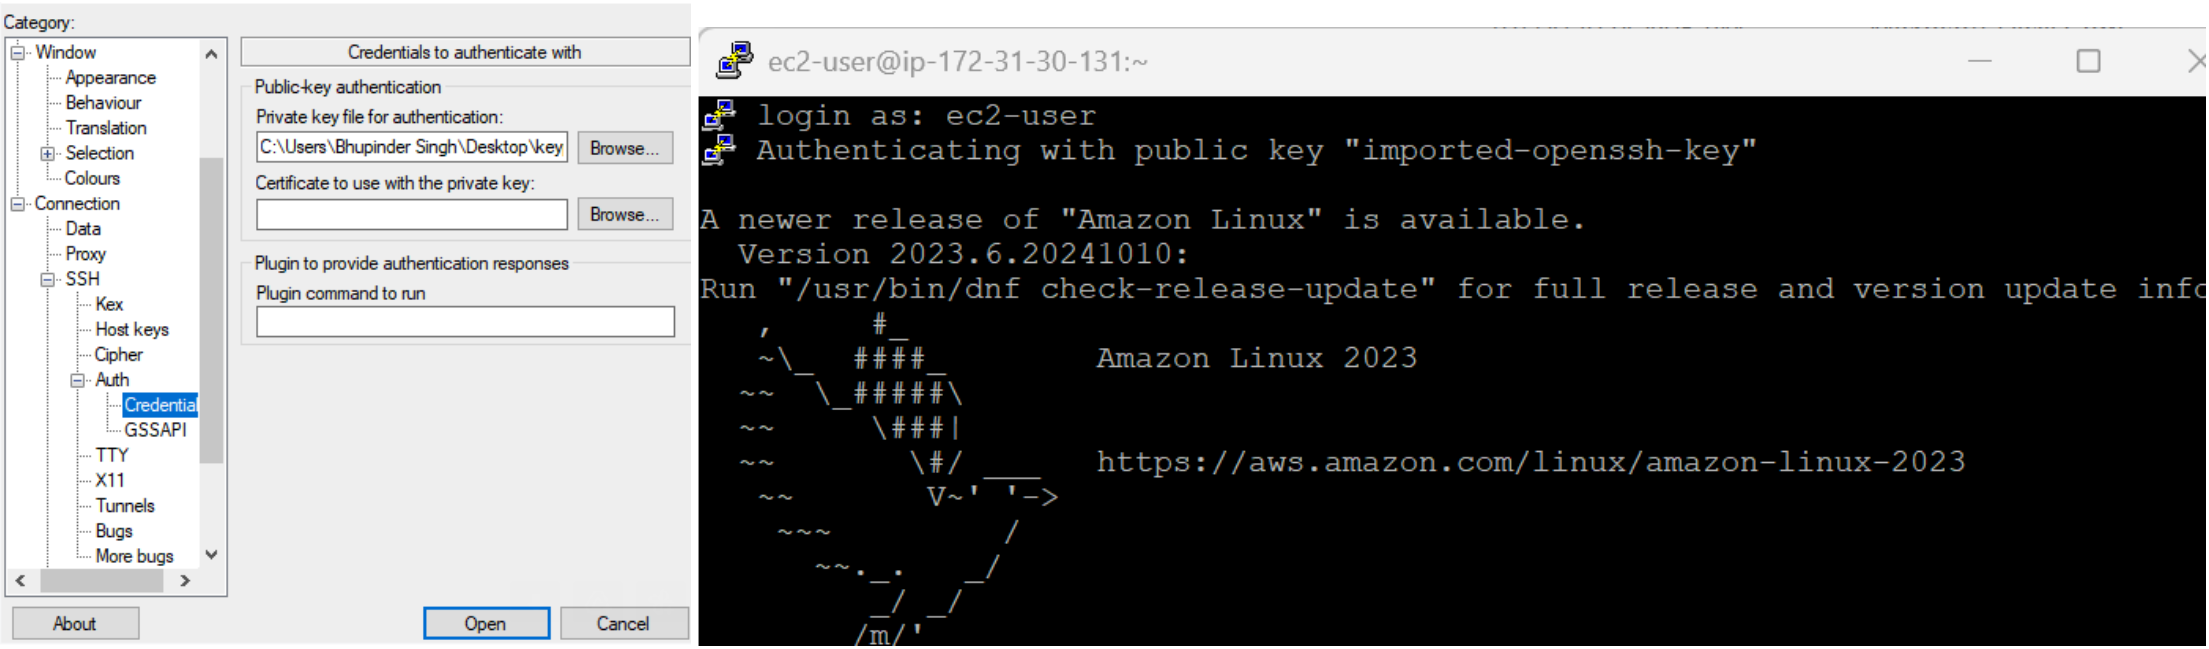
follow this hands on lab to create EC2 instance (linux) and this hands on lab to create EC2 instance (windows), for linux instance, you are able to connect the instance via SSH:
once deployed, you can find your instance in web console -> EC2 -> Instances:

login EC2 instance with private key that you created in step 2 and login as ec2-user:
- Note: don’t terminate instance unless you don’t need it, otherwise it will destroy all data on its root volume and instance.
MultiCloud Connector Setup
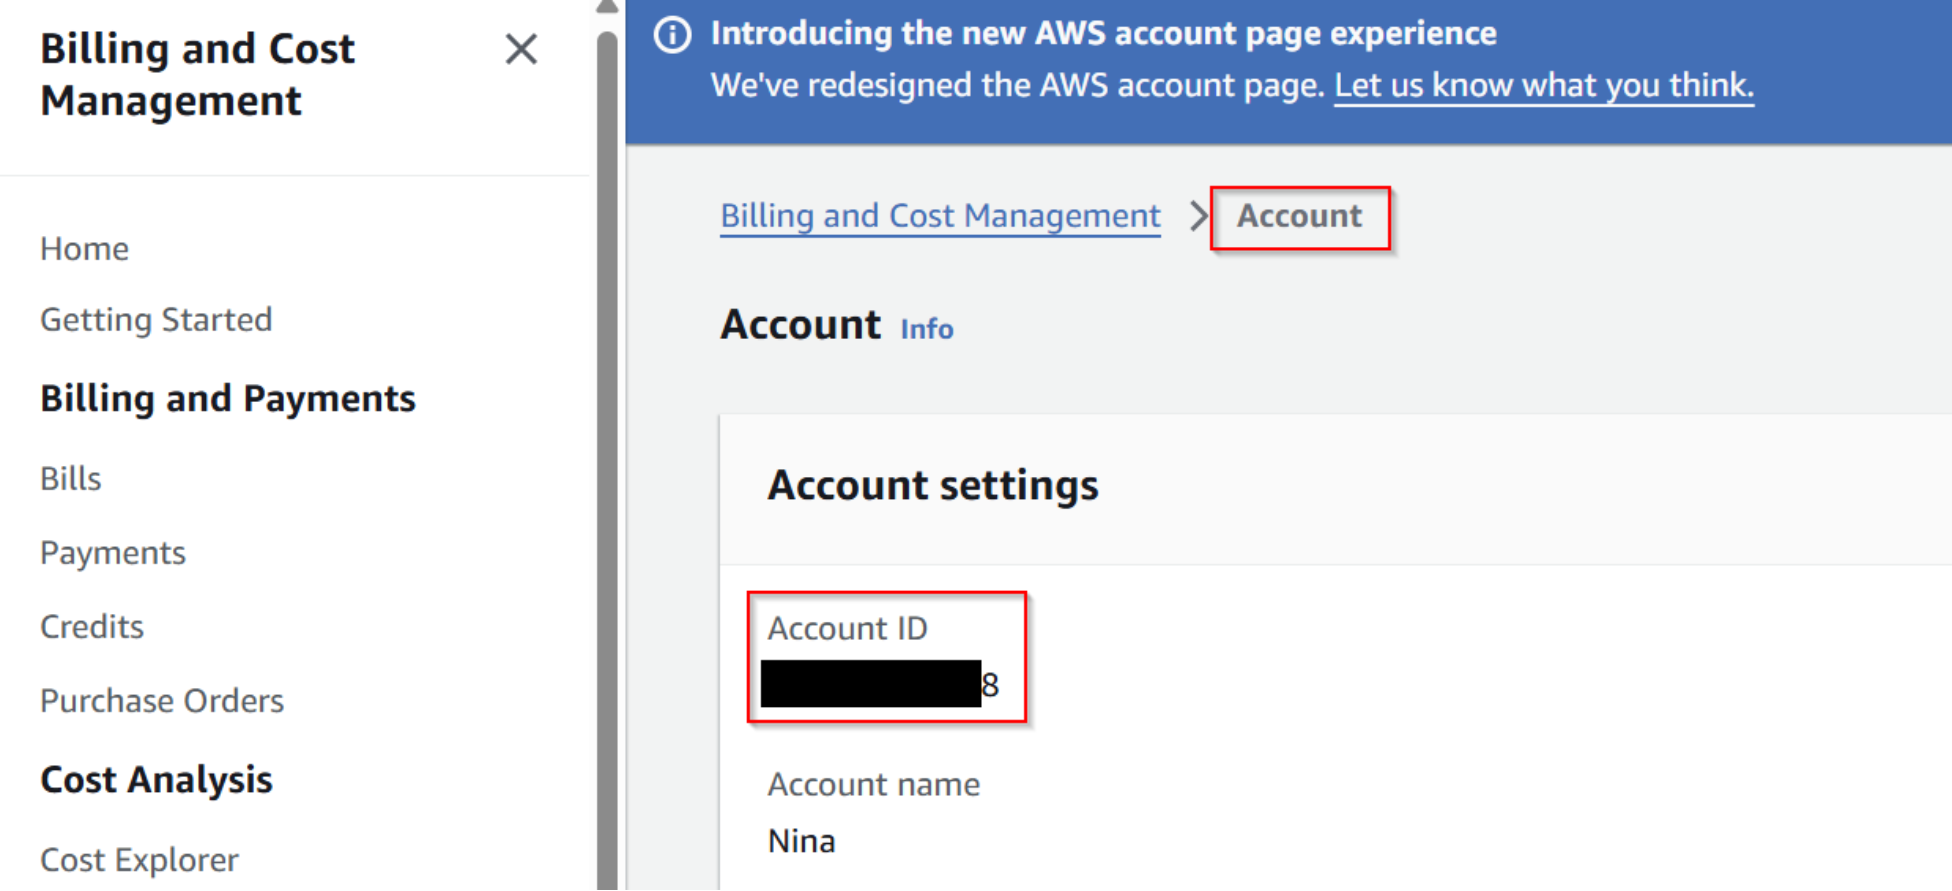
Get your account Id in above AWS web console, click your account -> Account
Follow the steps in public doc to create MultiCloud connector with AWS EC2 instance, go through the following tips for each step to move forward:
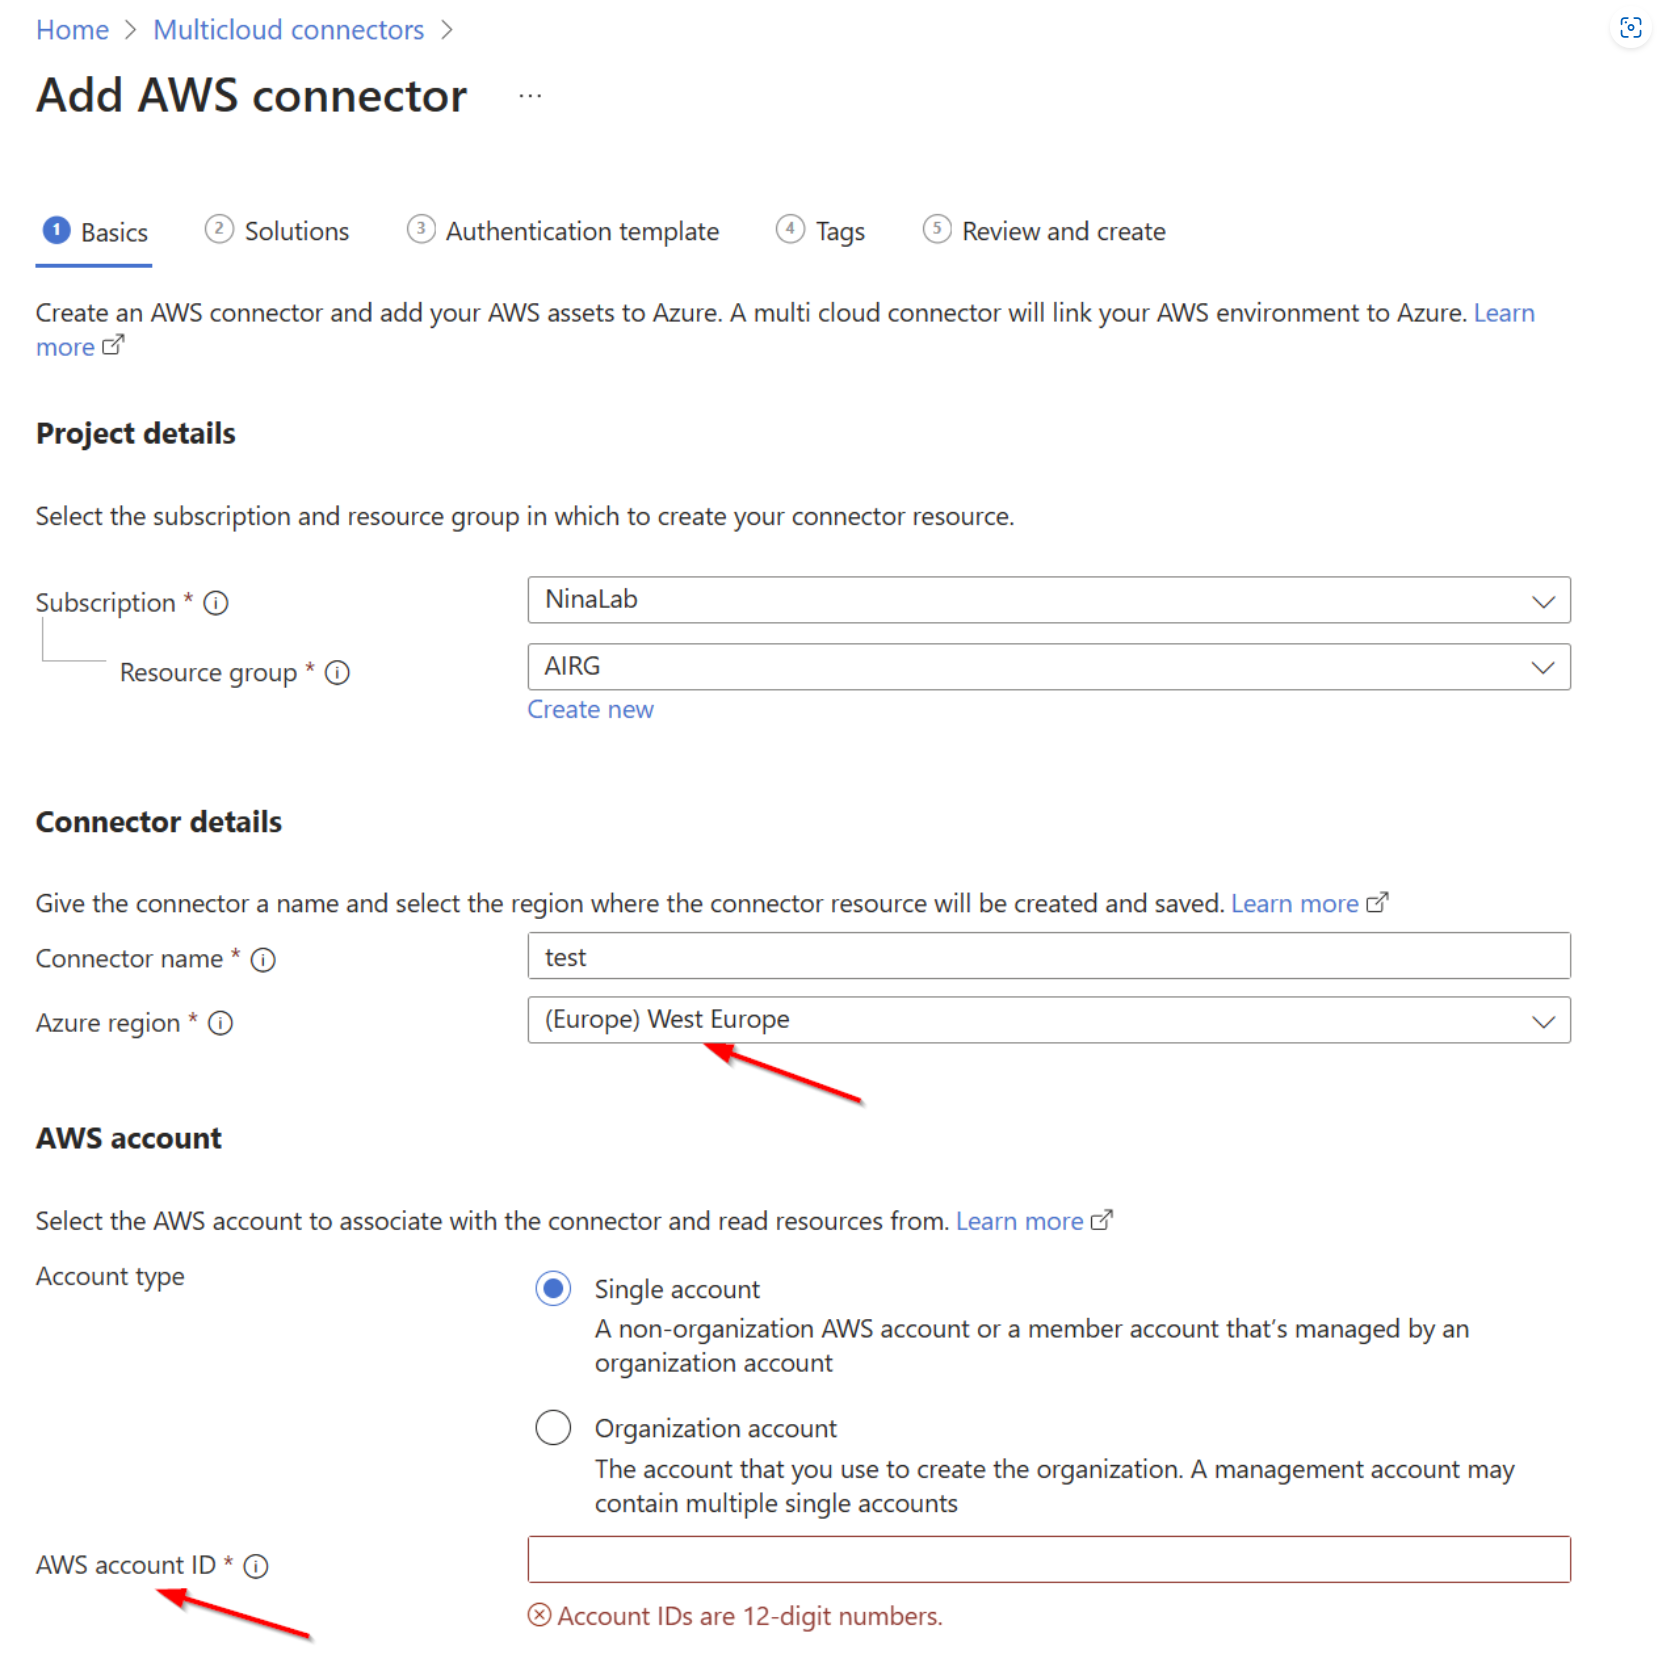
For step 4: select the supported Azure region , provide account Id in step 1:
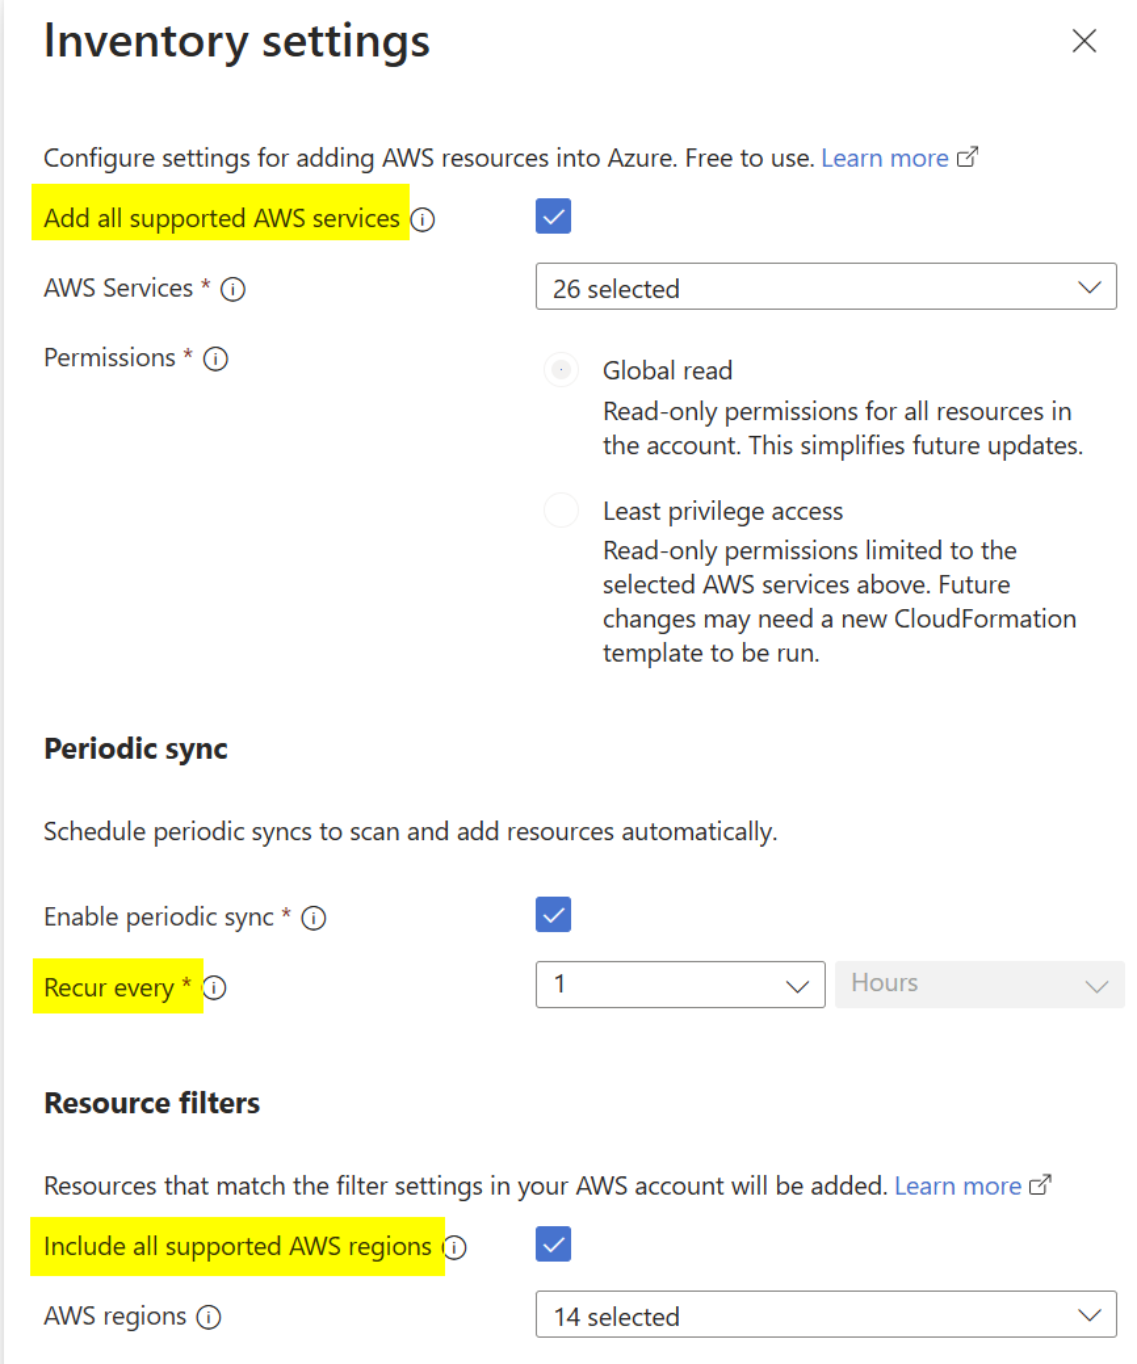
For step 5 - Inventory settings, check both ‘add all supported AWS services’ and ‘all supported AWS regions’ for lab testing, otherwise your EC2 instances might not be visible:
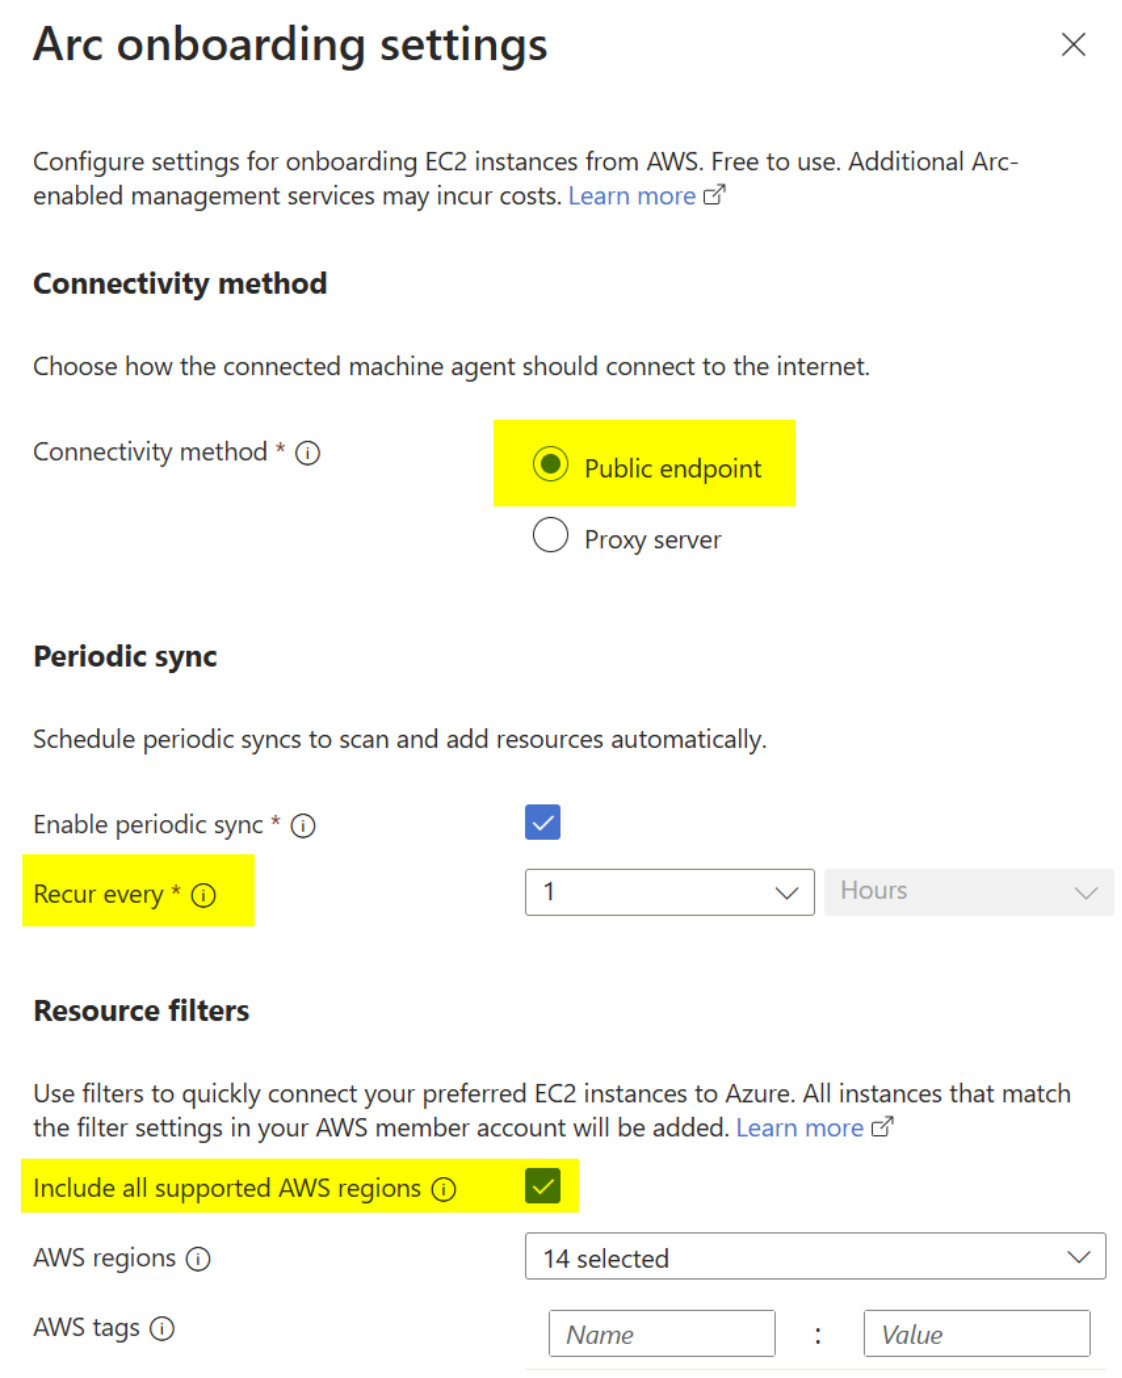
For step 5 - Arc onboarding settings, select ‘Public endpoint’ and check ‘Include all supported AWS regions’ for lab testing, otherwise your EC2 instances might not be able to onboard as Arc servers:
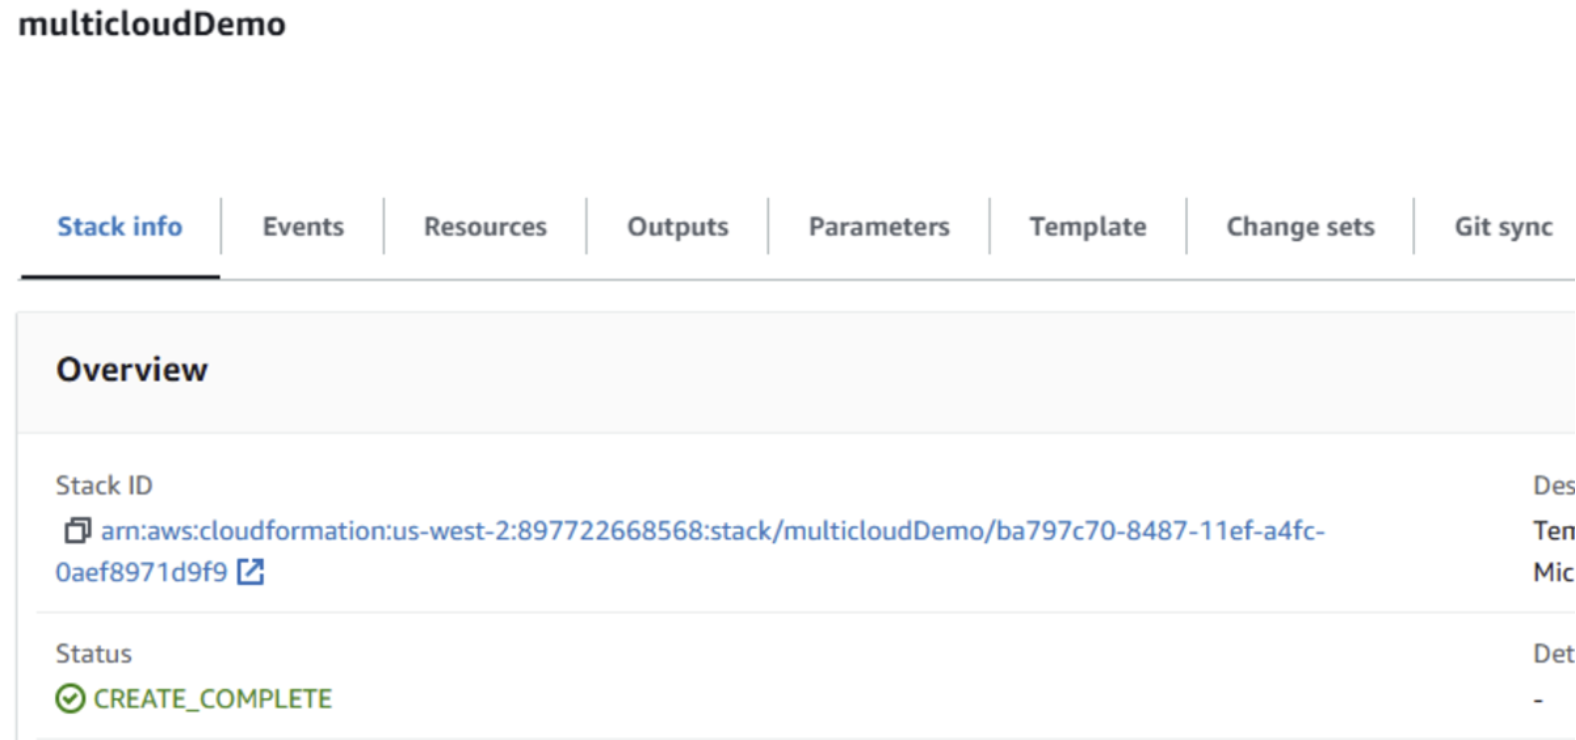
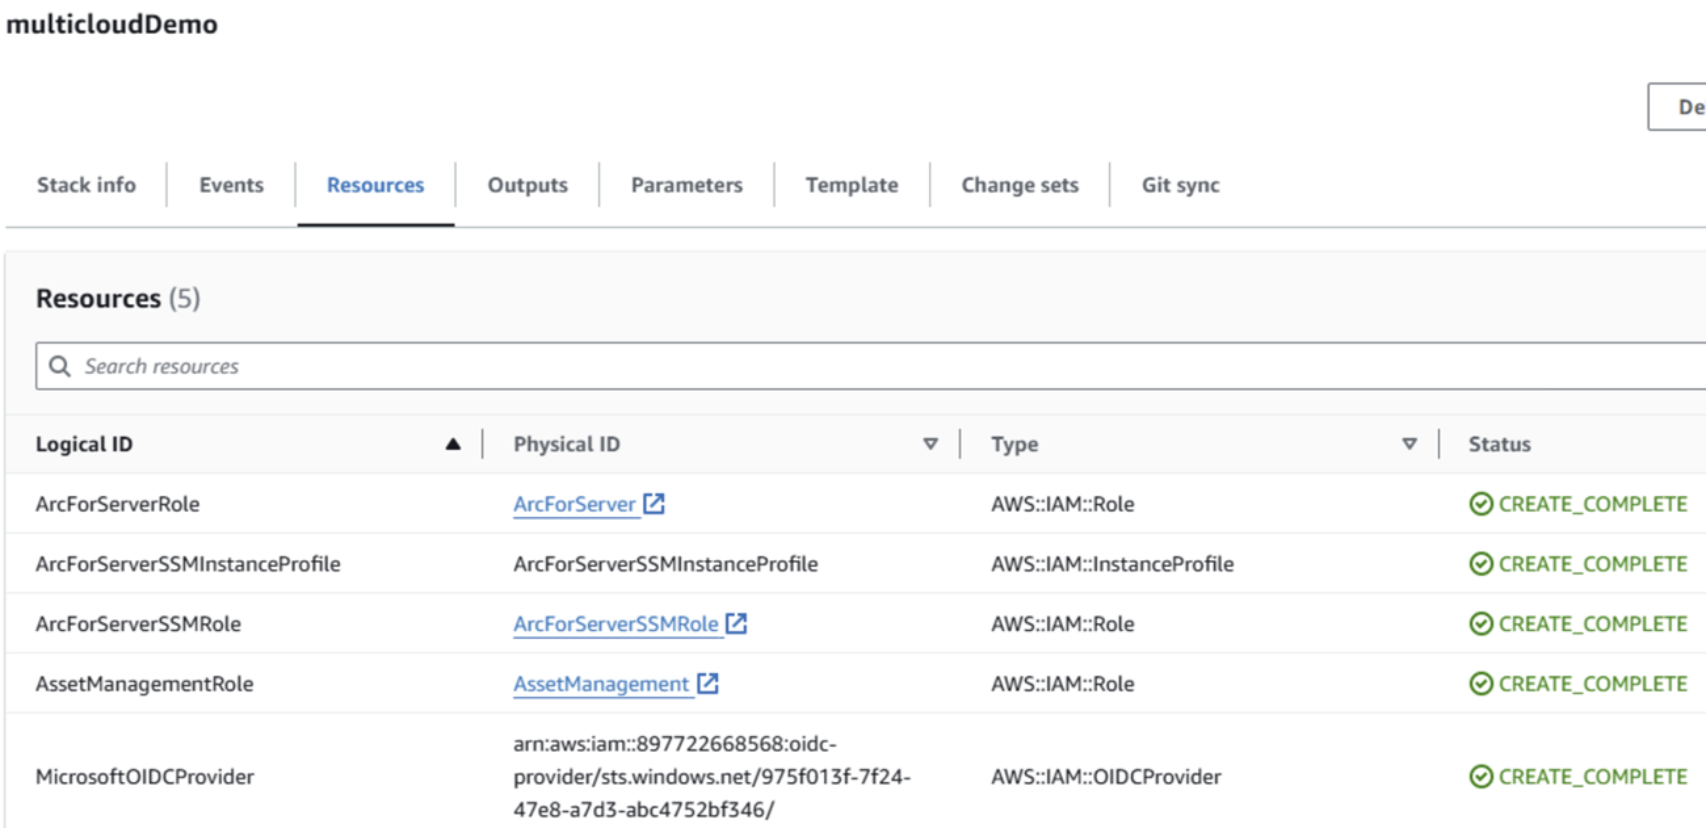
For step 6: hold on this step, download the CloudFormation template and create a stack in AWS web console , keep all permissions and configuration as default for lab testing, wait until all resources are created as below:
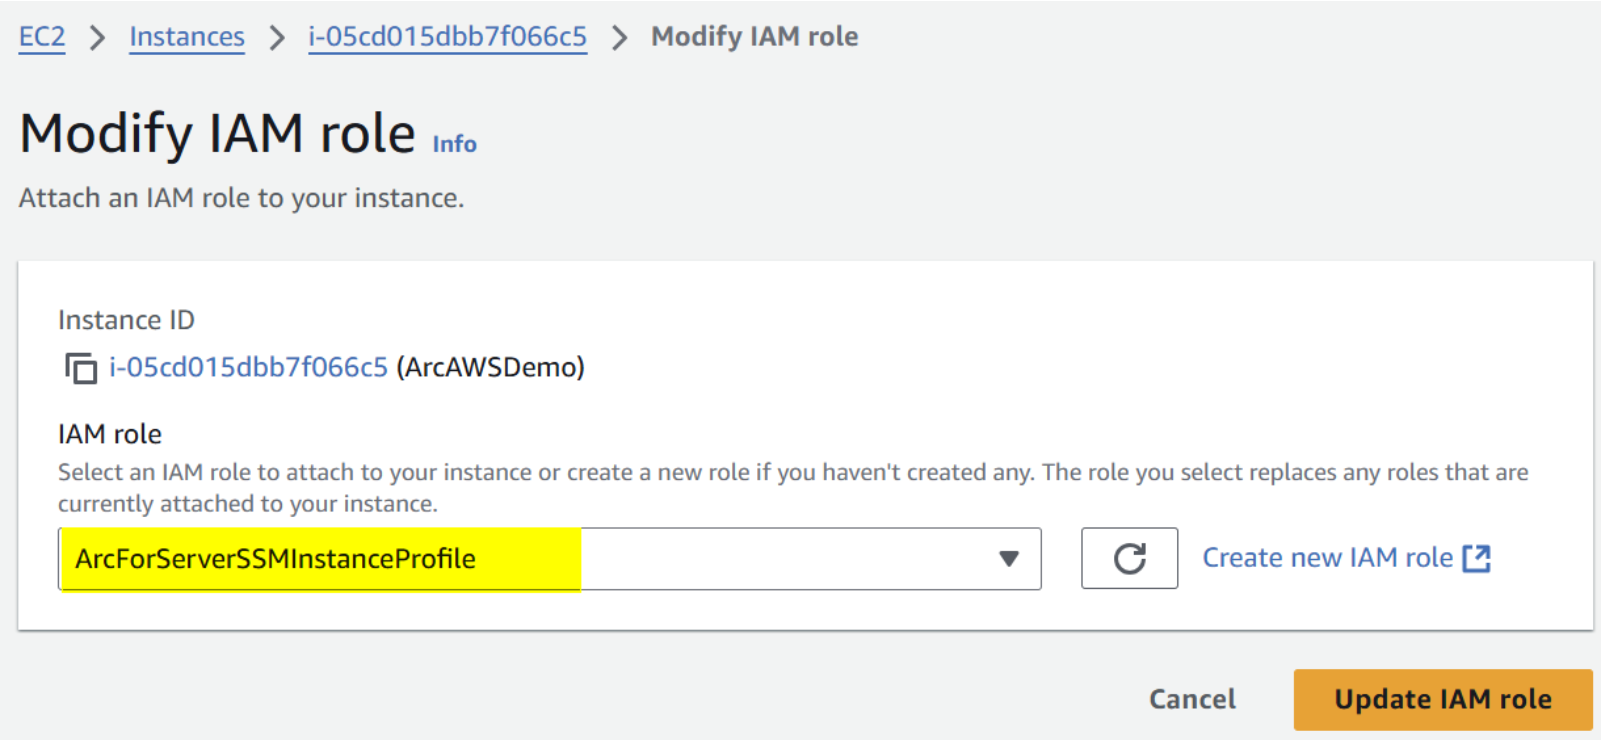
For step 6: Once all resources are created, in AWS web console page, go to your EC2 instance by clicking the instance id, then add the ArcForServerSSMInstanceProfile role to your EC2 instance, otherwise Arc agent will not be installed to the EC2 instance:

What do we have after setup
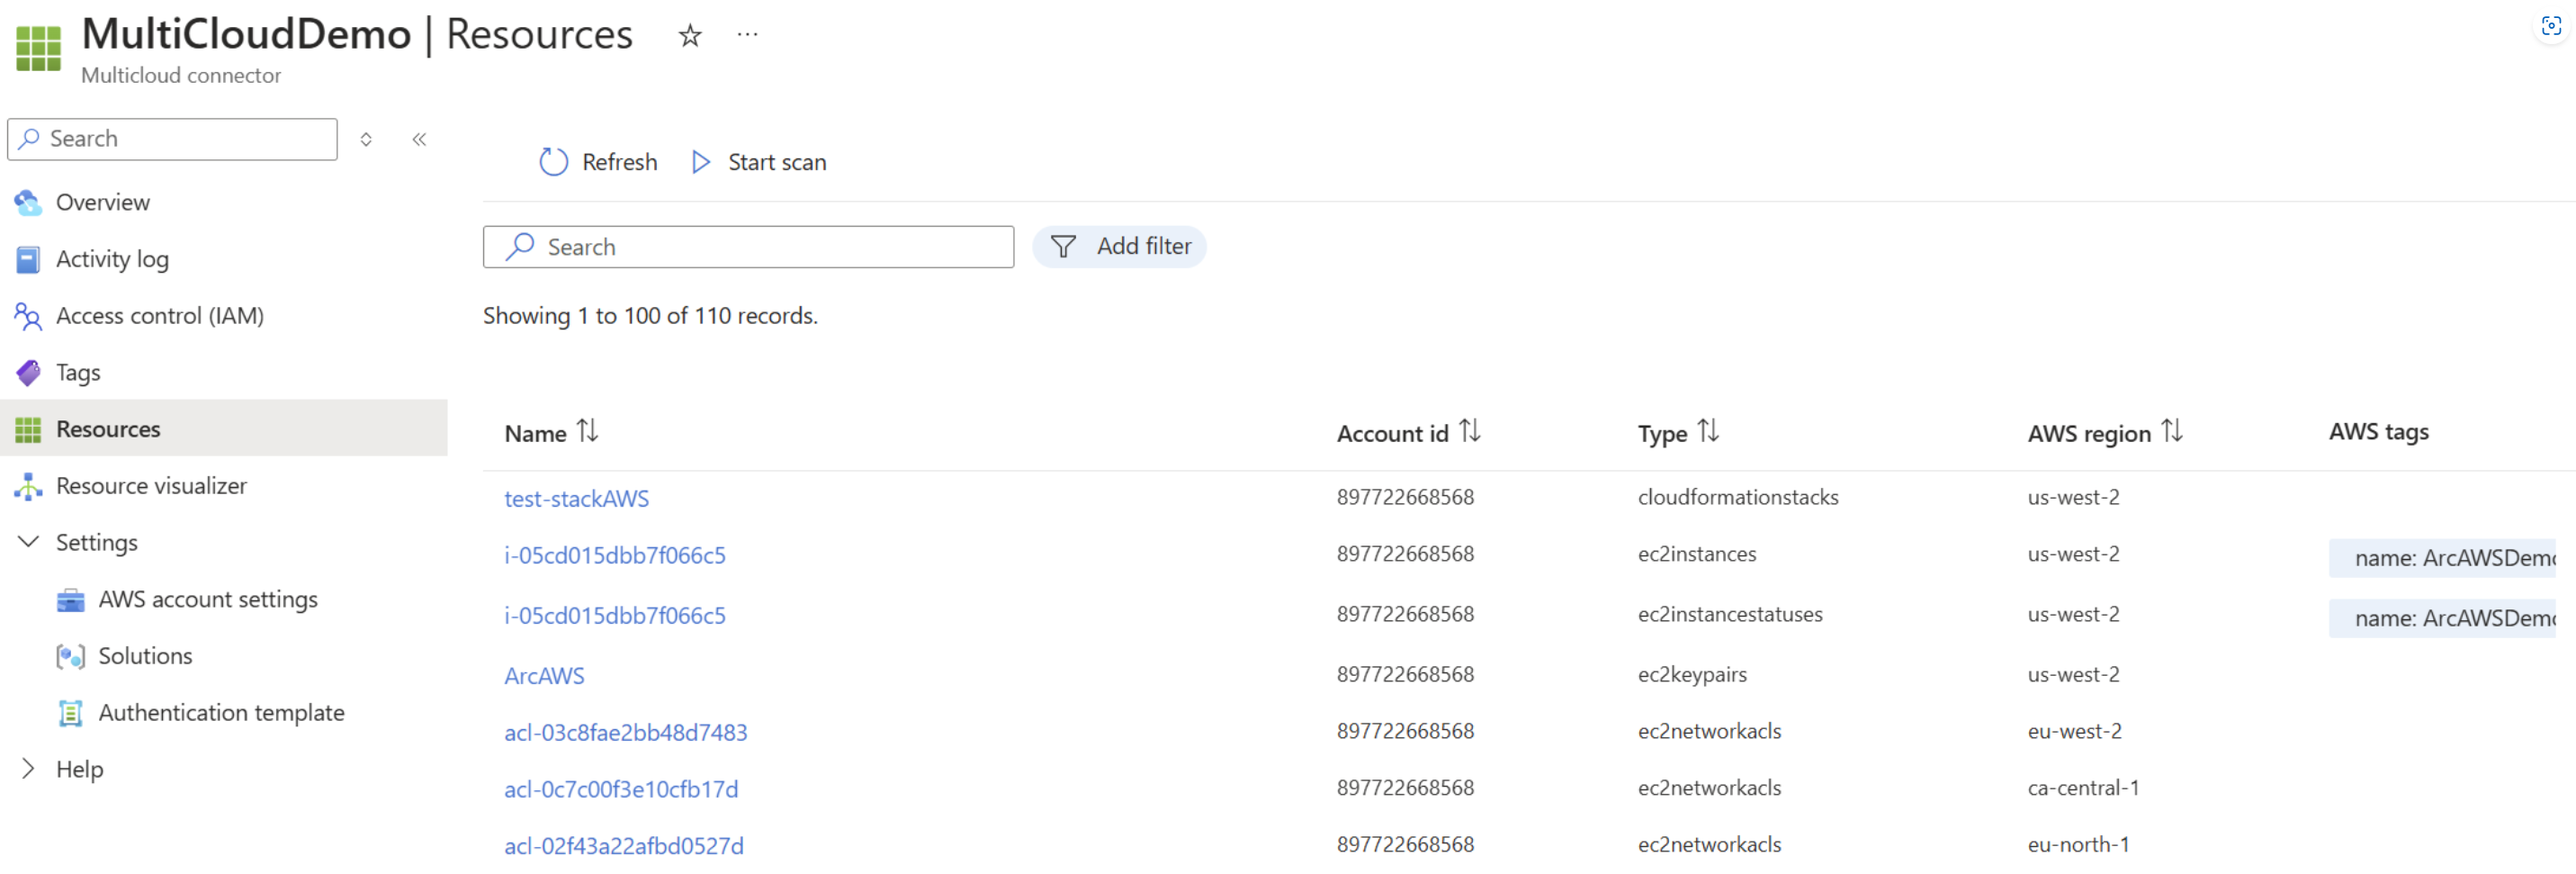
All supported AWS services will be scanned and represented under resources tab:
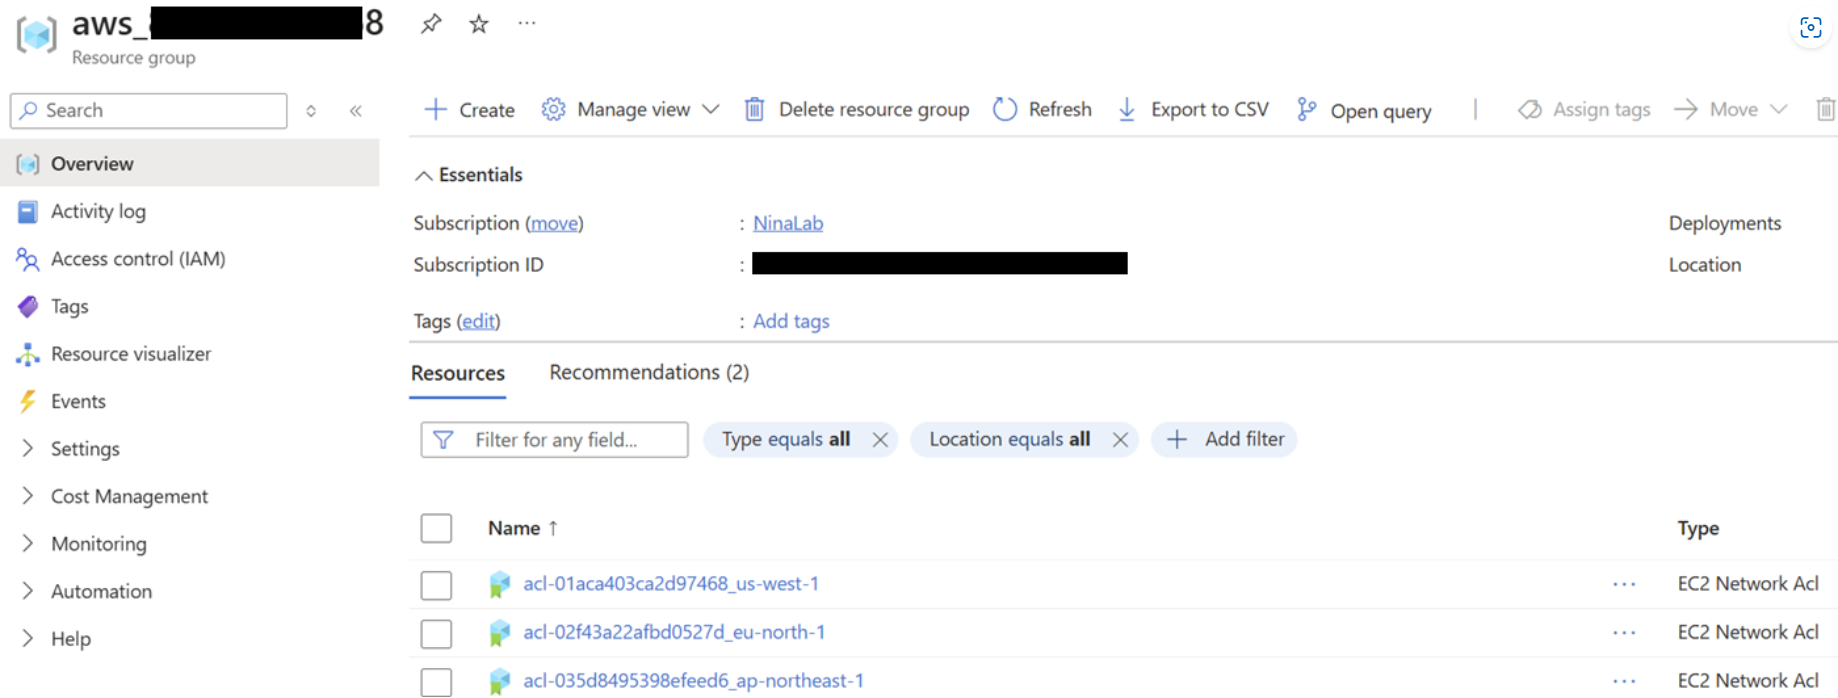
All above resources are stored in a resource group using the naming convention aws_yourAwsAccountId
Login your EC2 instance, you can check Arc agent with azcmagent as other Arc enabled servers:

Common issues
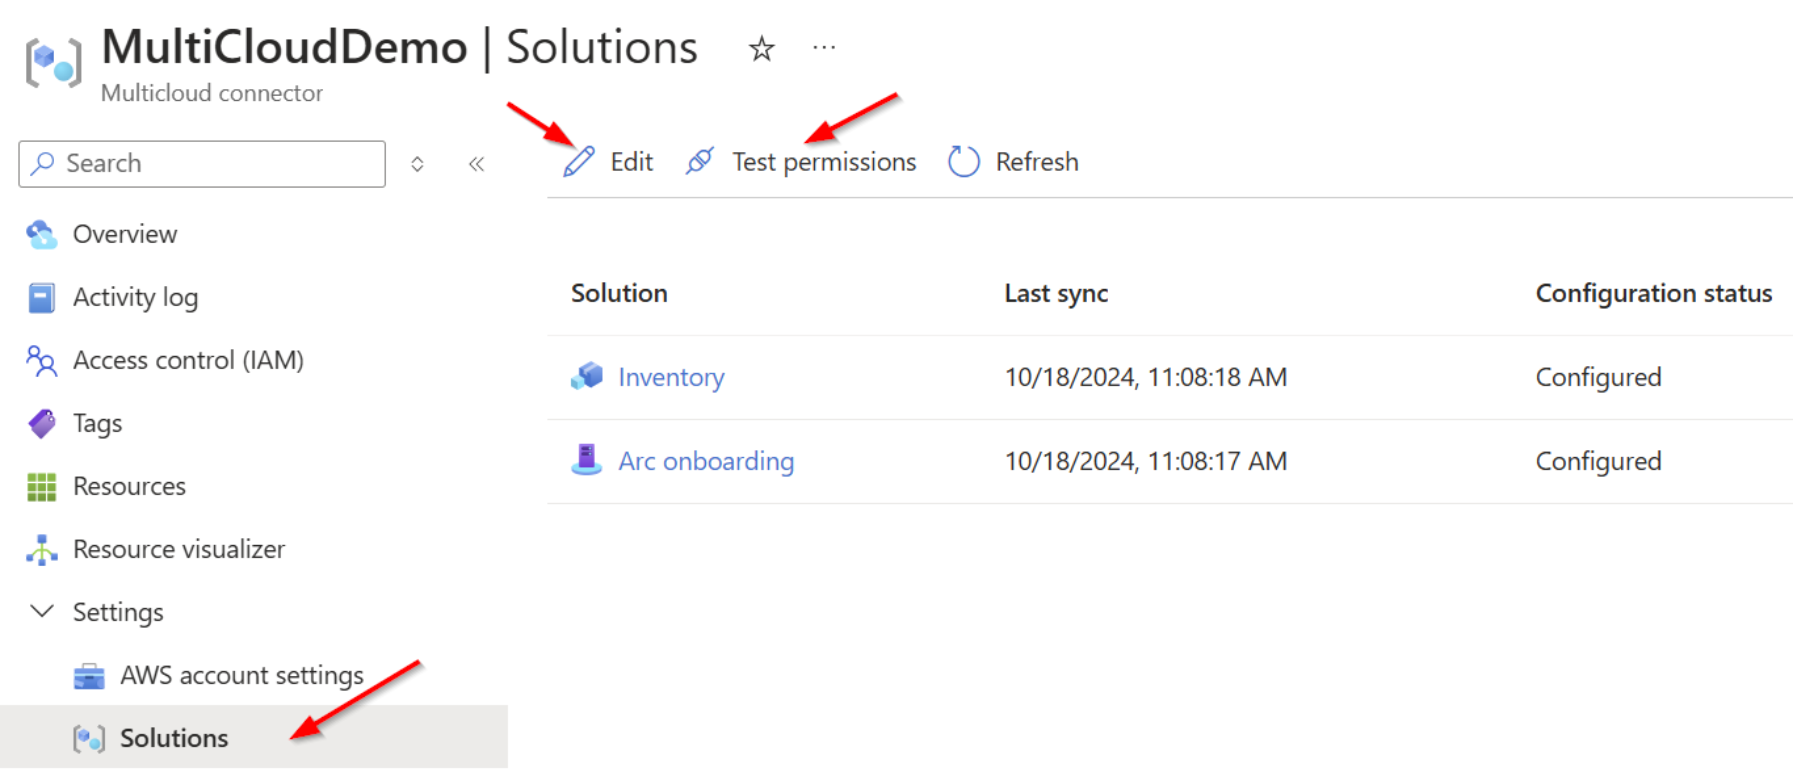
Issue 1: I uploaded the CloudFormation template to AWS, why does it still show ‘permission failure’ in Azure portal as below?
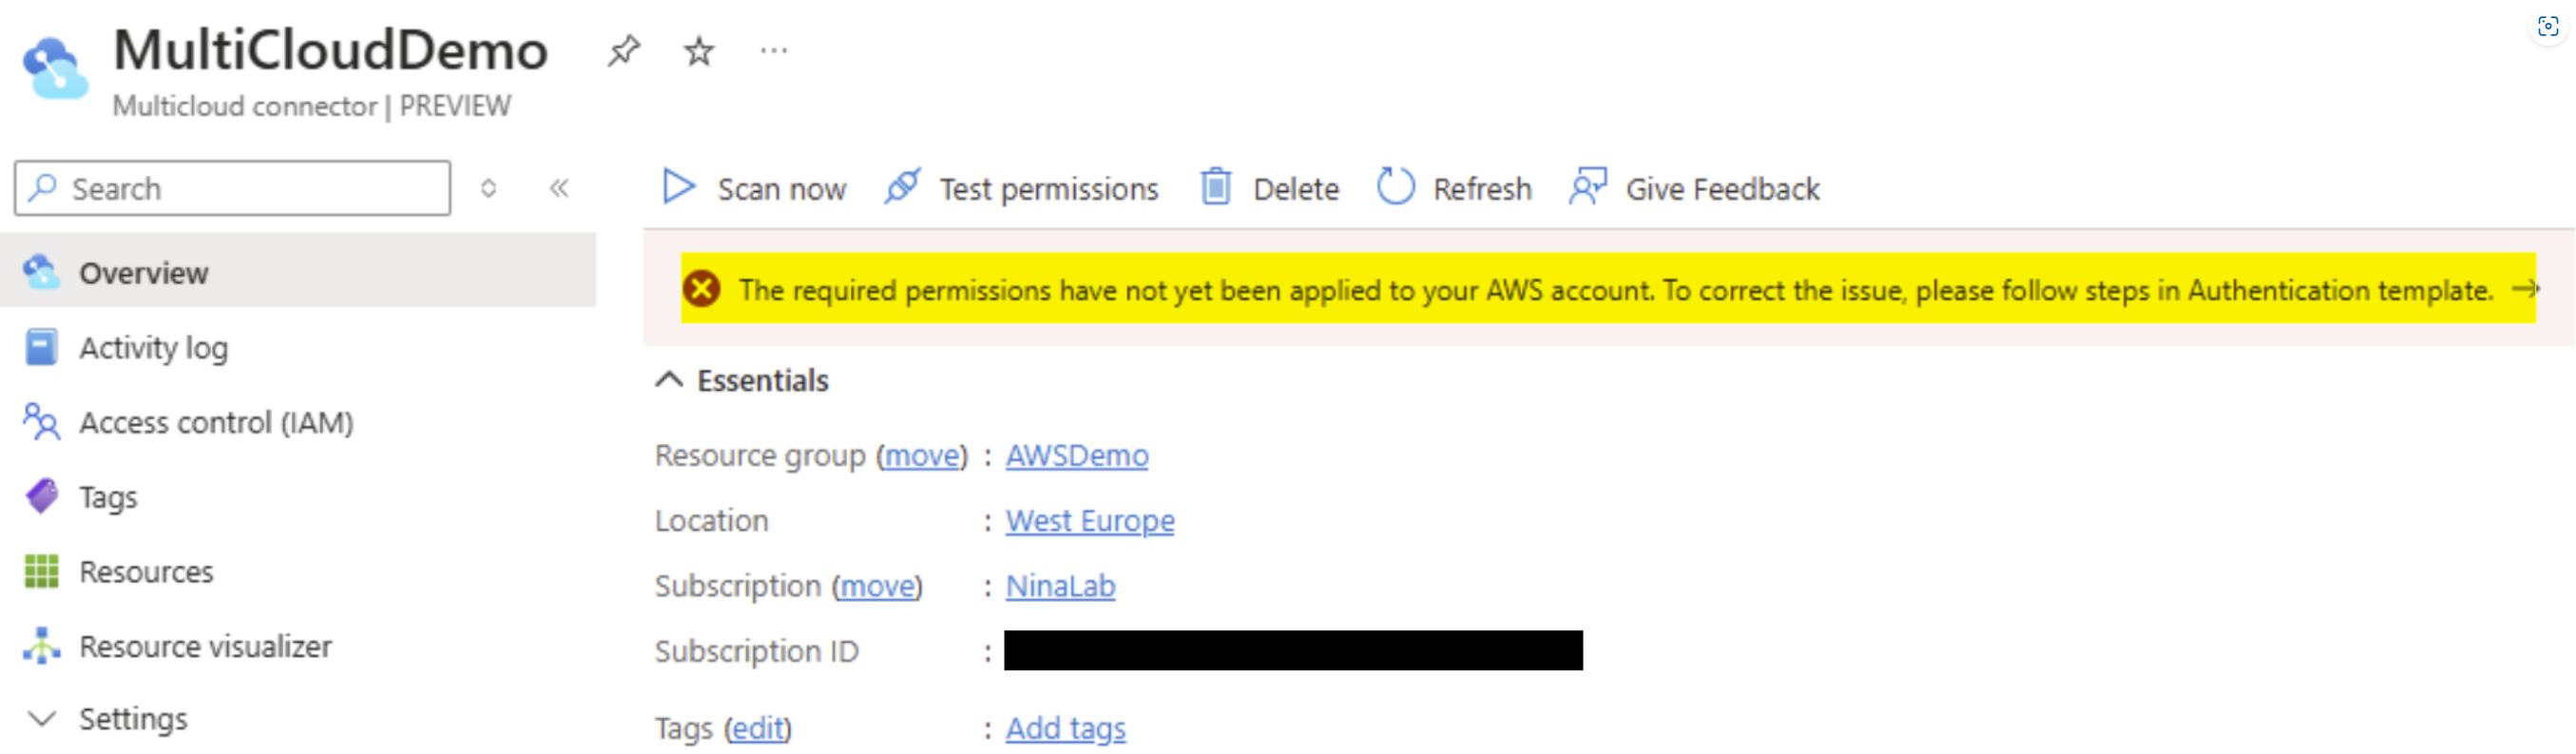
Solution
you uploaded template and create a stack after created multicloud connector, so you need to wait for the next periodic sync for AWS authentication to be validated. If you upload the template within 10 minutes, AWS authentication will succeed immediately.
you might use old template to create a stack, in this case, please find the template in created multicloud connector and create a new stack again.
Issue 2: I followed all steps in public doc, as result, Arc server is not connected

Solution
Check and add the ArcForServerSSMInstanceProfile role to your EC2 instance to grant permissions for Arc onboarding.
Check permissions and modify them for EC2 instances if any issue under Solutions tab.